


Hey there! As a supplier of top - notch sprayers, I'm stoked to share with you how to use a sprayer for applying stain. Whether you're working on a small DIY project or a large - scale commercial job, using a sprayer can make the process smoother and more efficient.
Choosing the Right Sprayer
First things first, you need to pick the appropriate sprayer for the task. There are different types of sprayers out there, like airless sprayers, HVLP (High - Volume, Low - Pressure) sprayers, and pneumatic sprayers. Each has its own pros and cons.
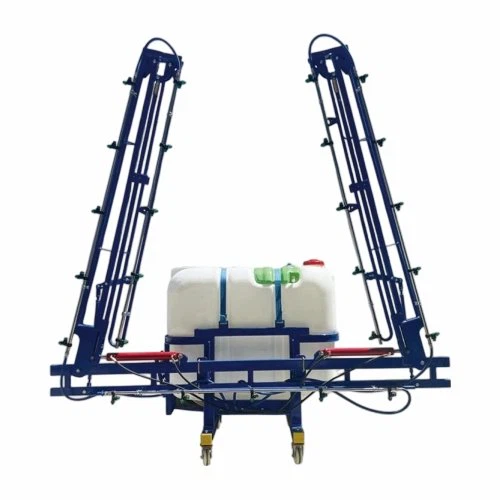
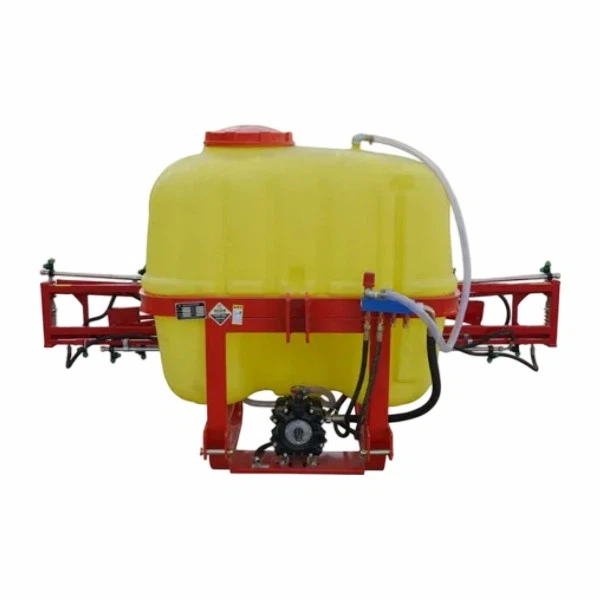
Airless sprayers are great for large projects because they can cover a big area quickly. They work by pumping the stain at high pressure through a small nozzle. The downside is that they might create a bit of overspray, so you'll need to be careful if you're working in a tight space. You can check out our range of Sprayer to find an airless one that suits your needs.
HVLP sprayers, on the other hand, are more precise. They use a high volume of air at a low pressure to atomize the stain. This results in less overspray, making them ideal for detailed work or smaller projects. They're also a bit more user - friendly for beginners.
Pneumatic sprayers rely on compressed air to spray the stain. They offer good control over the spray pattern and are versatile. But they do require an air compressor, which can add to the overall cost and setup complexity.
Preparing the Sprayer
Once you've got the right sprayer, it's time to prep it for use. The first step is to give it a good clean. Even if it's a brand - new sprayer, there might be some debris or manufacturing residues inside. So, disassemble the sprayer according to the manufacturer's instructions. Clean all the parts, including the nozzle, hose, and fluid container, with warm, soapy water. Rinse them thoroughly and let them dry completely.
Next, you'll need to thin the stain if necessary. Some stains might be too thick to spray properly, and thinning them will ensure a smooth and even application. Check the stain manufacturer's recommendations for the right thinning agent and the correct ratio. Usually, mineral spirits or water (depending on whether it's an oil - based or water - based stain) can be used for thinning.
After thinning, strain the stain through a fine - mesh filter into the sprayer's fluid container. This will remove any clumps or impurities that could clog the sprayer nozzle.
Preparing the Surface
Before you start spraying, you've got to prep the surface that you're going to apply the stain to. First, clean the surface. Remove any dirt, dust, grease, or old paint. You can use a mild detergent and water for non - porous surfaces like wood or metal. For porous surfaces, you might need to sand them lightly to open up the pores and help the stain soak in better.
Once the surface is clean, use a tack cloth to wipe away any remaining dust. Make sure the surface is completely dry before you start staining. If there are any cracks or holes in the surface, fill them with an appropriate filler and let it dry before sanding it down smooth.
Setting Up the Sprayer
Now, it's time to set up the sprayer correctly. Connect the hose to the fluid container and the spray gun. Make sure all the connections are tight to prevent any leaks. If you're using an air - powered sprayer, connect the air hose to the air compressor and adjust the air pressure according to the stain manufacturer's recommendations.
Test the sprayer on a scrap piece of material similar to the surface you're going to stain. This will help you get a feel for the spray pattern, the flow rate, and the pressure. You can adjust the spray pattern by turning the nozzle or adjusting the airflow control on the spray gun. The goal is to get a wide, even fan - shaped spray pattern.
Applying the Stain
When you're ready to start applying the stain, hold the spray gun about 6 - 8 inches away from the surface. Keep the gun perpendicular to the surface and move it in a smooth, even motion. Start at one end of the surface and work your way across. Overlap each pass slightly to ensure an even coverage.
Don't try to apply too much stain in one go. It's better to do multiple thin coats than one thick coat. This will prevent the stain from running or dripping and will result in a more professional - looking finish. Let each coat dry completely before applying the next one. Check the stain manufacturer's instructions for the drying time.
Cleaning Up
After you're done applying the stain, it's crucial to clean the sprayer right away. Leaving the stain in the sprayer can cause it to dry and clog the parts. Disassemble the sprayer again and clean all the parts with the appropriate cleaning solution (usually the same thinning agent you used for the stain). Rinse the parts thoroughly and let them dry.
Store the sprayer in a clean, dry place. If you're not going to use it for a long time, you might want to lubricate the moving parts to prevent them from rusting or seizing up.
Troubleshooting
Sometimes, you might run into some issues while using the sprayer. If you're getting uneven coverage, it could be because the spray pattern is not set correctly. Adjust the nozzle or the airflow control until you get an even fan - shaped pattern.
If the sprayer is clogging, it might be due to not straining the stain properly or leaving the stain in the sprayer for too long. Disassemble the sprayer and clean the clogged parts. You can use a small brush or a pin to clear any blockages in the nozzle.
Buying a Sprayer from Us
If you're in the market for a new sprayer or are looking to upgrade your current one, we've got you covered. Our sprayers are made with high - quality materials and are built to last. We offer a wide range of models, from small - sized sprayers for home projects to heavy - duty ones for commercial use.
Whether you're a professional contractor or a DIY enthusiast, our sprayers can help you get the job done efficiently and effectively. So, if you're interested in purchasing a sprayer from us, don't hesitate to reach out. We're here to answer any questions you might have and help you find the perfect sprayer for your needs.
References
- Stain application guides from major stain manufacturers
- Sprayer user manuals from various brands
That's it for today's blog on how to use a sprayer for applying stain. I hope you found it helpful. Remember, with the right sprayer and the proper technique, you can achieve a beautiful, even stain finish on any surface.


